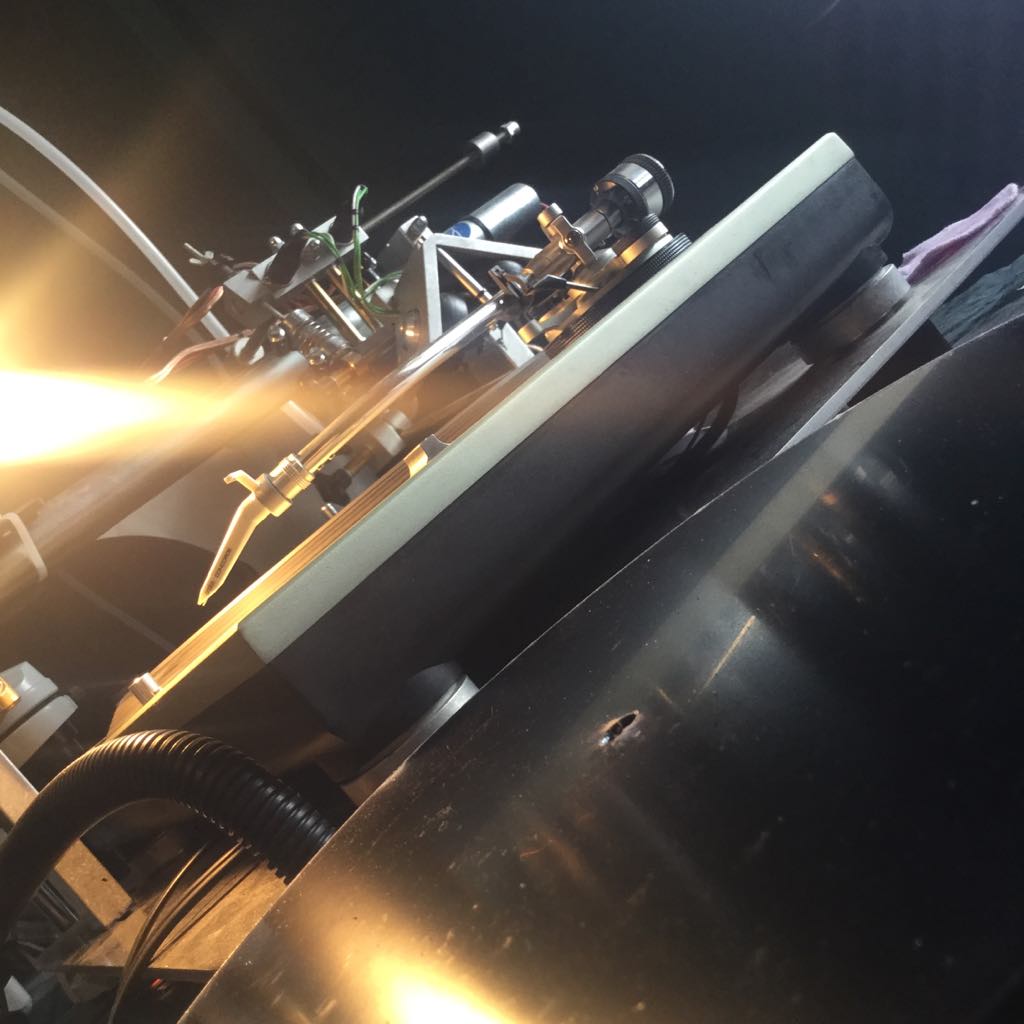
This blog post will guide you through setting up your Vinyl Recorder T560 for optimal signal clarity and high-fidelity results on a budget. We acknowledge that some of the recommended equipment is low-cost, but our aim is to help all VR users achieve great results without a hefty investment. This setup involves replacing all of the original VR electronics.
The setup outlined here is for those using a computer or laptop to play audio, though it applies similarly to hardware players. For hardware player recommendations, feel free to contact us.
Cutting Chain:
Computer
Audio Interface
Cutter Amp
Playback Chain:
Turntable
RIAA Preamp
Level Meter
2-Channel Volume Control (optional)
Monitoring
Separating the cutting and playback chains helps eliminate crosstalk, ground loops, and other noises that can arise from the original mixer.
Starting Point: Playing the Audio
When cutting a record, the audio is processed through an inverse RIAA (iRIAA) EQ curve and played back through a preamp with the opposite RIAA curve. The Vinyl Recorder, using tweeters instead of transducers, does not strictly adhere to this.
For EQ, the Vinyl Recorder's 'Main Unit' has a basic 3-band EQ (bass, middle, treble). However, VR cutter heads typically require at least 10 bands of EQ to achieve a flat response due to their frequency response and resonances. We have mapped around 50 heads worldwide, and all have needed at least 10 bands for a flat response. The Main Unit's 3-band EQ cannot adequately account for these requirements.
The best option at this point, is in your DAW use a custom EQ with audio playing through it, directly from here to the cutter amp. Ensure the audio volume does not overload the plugin, with -18dbfs being a good starting point to account for the high end EQ boost that will be used.
The goal of this blog is to help you achieve the best possible results on a budget. However, if you prefer not to map your cutter head and want to continue using the ‘Main Unit,’ you can skip the previous step. In this case, you will send the audio from your audio interface to the Main Unit and then to your cutter amp.
Audio Interface and D/A Conversion
The D/A conversion stage is crucial. While high-end converters can be expensive, we recommend the Audient ID22 (1st generation, pre-2020) for its superior D/A Burr Brown chips. Post-2020 models might have lower-quality chips due to a fire at the AKM factory in Japan, which affected many budget-level audio interface DAC chips. These original chips in the 1st generation Audient units are far superior to other entry level interfaces, such as the Focusrite Scarlett or the SSL 2 for example.
Playback Setup
Use the best pickup stylus available, however on a budget there is plenty of options that will do a good job from Ortofon and Audio Technica. The signal then goes through an RIAA preamp, such as the budget-friendly Art DJ Pre II. Next, route the signal to your level meter. Due to the stock level meter having glued trim pots, you will need to use the supplied small blue RCA attenuator to balance the loudest channel. Calibrate playback to 0db using a professional test record like the 'Ortofon Test Record.' Do not calibrate your set up with the supplied test record that came with the VR, these are often inaccurate.
The ART DJ Pre II has a volume control pot, use this to set your playback 0db reference level, using the RCA attenuator to lower the louder channel, it is highly unlikely that both channels are accurate.
Optional: Passive Mackie Big Knob
Next is an optional step involving the use of a passive Mackie Big Knob. This device allows you to split the signal and perform A/B comparisons during a cut. While many Vinyl Recorder users habitually A/B their audio, we do not recommend this method. Cutting all day can tire your ears, and the best way to get an accurate A/B comparison is to record your cut and check the audio in a controlled environment. This allows you to adjust EQ and other processors carefully, without the added noise of the lathe.
If you still prefer to A/B while cutting, you can use the passive Mackie Big Knob. This setup lets you monitor the cut from the level meter and use the second channel to monitor the cut. To do this, connect the second set of outputs from your Audient ID22 directly to the Big Knob. Then you can A/B as needed.
However, if you are using the Main Unit for EQ, A/B comparisons are less useful since you won't achieve a flat cut matching the digital file. The best approach is to map your cutter head, get it as flat as possible, and then A/B a recorded cut to fully utilise your head's capabilities.
Monitoring Setup
Your monitoring setup can vary widely, so use what works best for you!
Summary
Replace the original electronics, map your cutter head, use the best D/A conversion within your budget, and separate the cutting and playback chains for optimal results. Doing the steps we recommend it will cost no more than about £300 in total for the interface, RIAA preamp and cutter head mapping. All of which you may already have, or can do yourself. If you have any questions, feel free to contact us!

